RTK Scanning Guide: Using The Bad Elf Flex Mini with Dot3D Prime (for real-time corrections)
1. Verify you have all required components:
7. Corrections Service / Credentials
3. Open the Bad Elf Flex app and go to Corrections > Configuration > NTRIP.
4. Create an NTRIP profile with your NTRIP credentials. If using a Public RTK Network, you may want to browse those options provided for autofill assistance.
5. Hit "Test this profile" and wait until everything appears green. You may want to be outside for a better connection.
6. Navigate to Settings > GNSS & Geo Settings (inside Dot3D), select "Bad Elf Flex Mini", and use the "Test Connection" button.
7. Step outside (if you haven't already) and wait for a strong signal before starting your scan (RTK Fix). Hold the device still to help acquire more satellites / better signal.
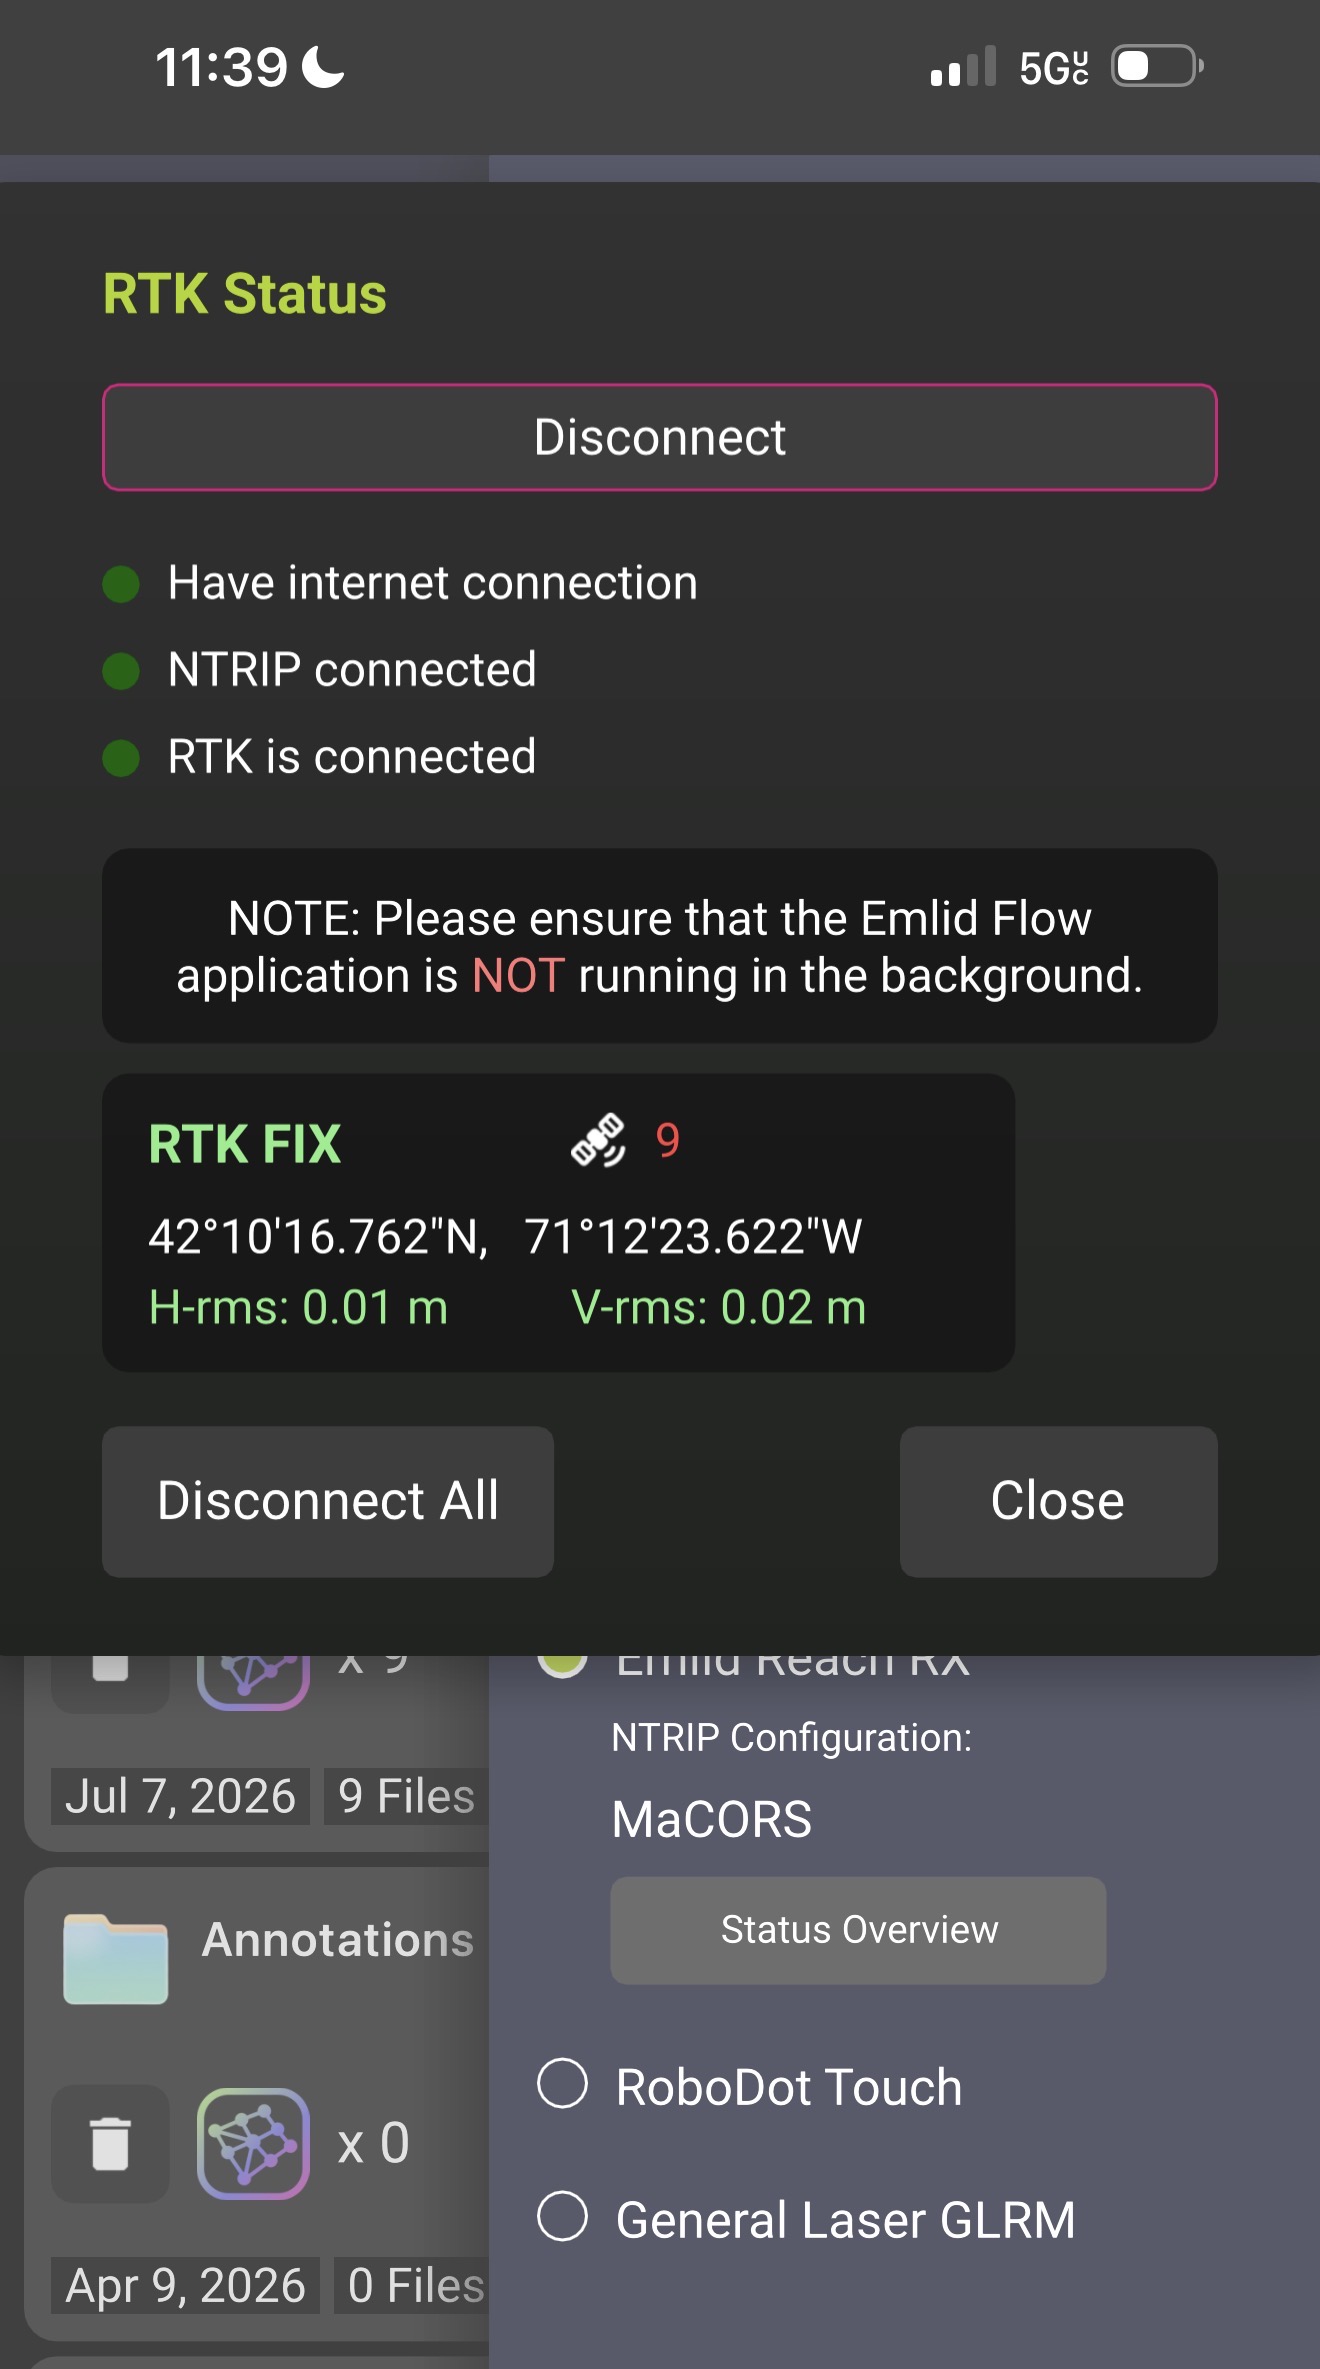
8. Once you're ready, start scanning as usual. The green satellite button can be toggled on/off at any time to display signal quality.
8. Once you're ready, start scanning as usual. The green satellite button can be toggled on/off at any time to display signal quality.
9. After completing a scan with real-time RTK/GNSS enabled, make sure to "Fit GNSS Trajectory" before optimizing. This can be accessed from either Settings > GNSS or from the Optimization window.
10. Now when you optimize, you'll see the GNSS constraints bar activated. This should typically be left on its default influence strength.
11. Once ready to move the data out of Dot3D / off-device, make sure to select GNSS as your output transform (during Save/Export process).